Building Secure Backend APIs with Next.js and Golang
In today's digital landscape, security is paramount. Whether you're building a small application or a large-scale system, ensuring that your backend APIs are secure is crucial. In this guide, we'll explore how to build secure backend APIs using Next.js for the frontend and Golang for the backend. We'll focus on implementing security best practices to protect your APIs from common vulnerabilities.
Why Security Matters
Security is not just an afterthought; it should be an integral part of your development process. Common vulnerabilities like SQL injection, Cross-Site Scripting (XSS), and Cross-Site Request Forgery (CSRF) can compromise your application's integrity and user data. By following best practices, you can mitigate these risks and build robust, secure applications.
Setting Up the Project
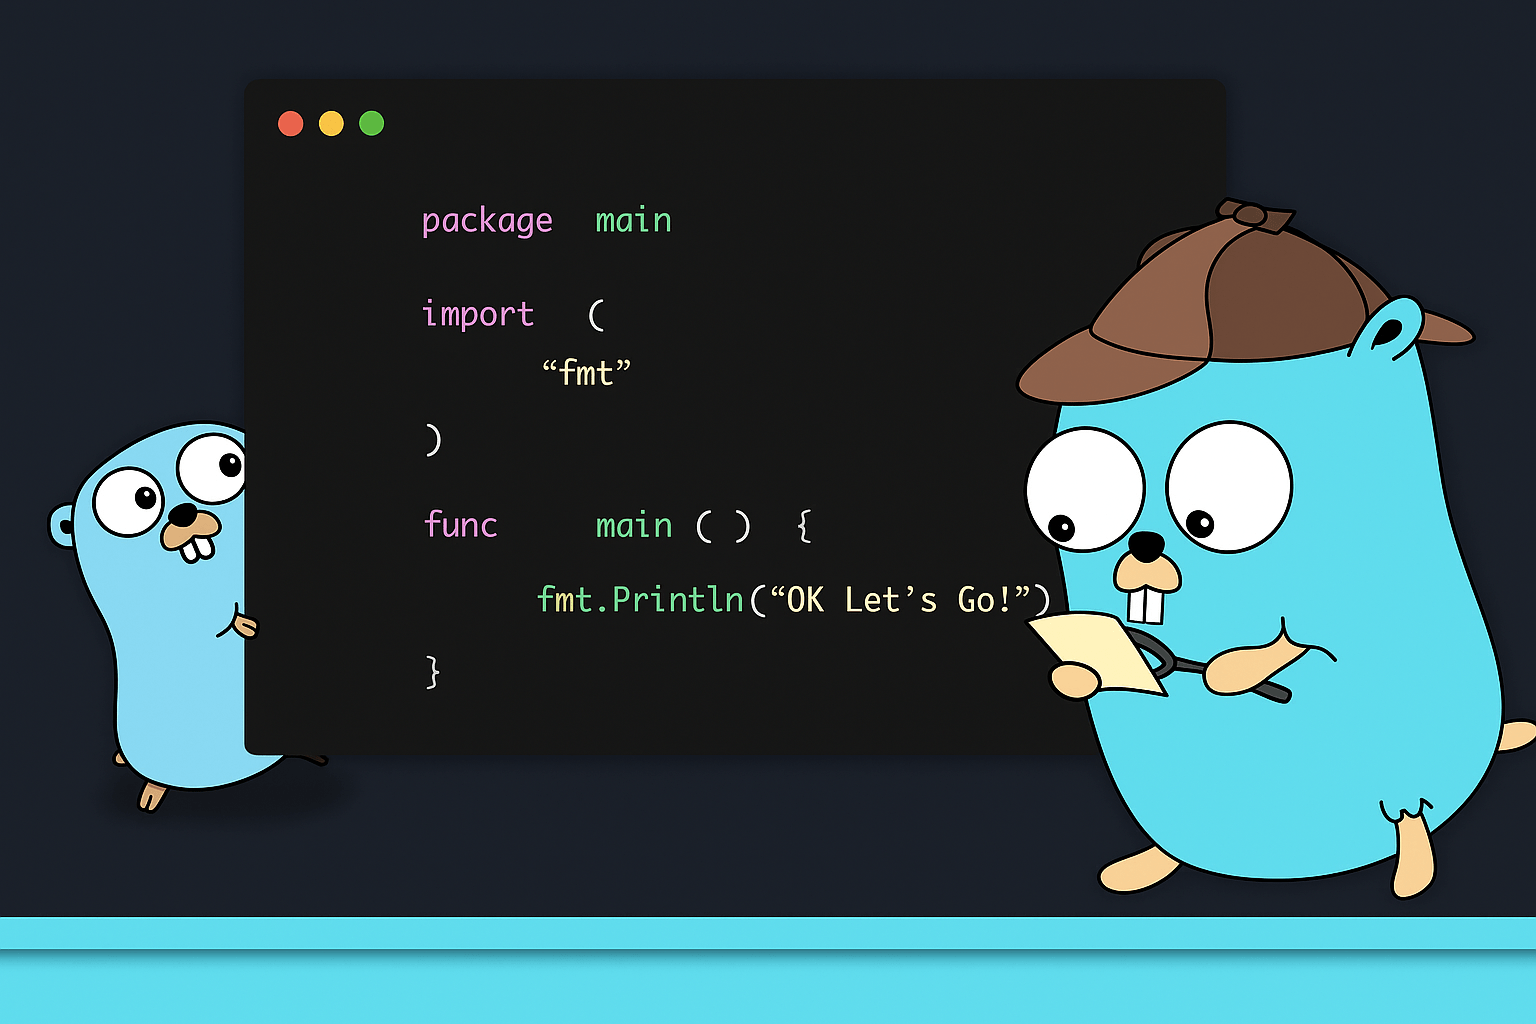
Let's start by setting up a basic project structure. We'll use Next.js for the frontend and Golang for the backend.
Step 1: Create a New Next.js Project
First, create a new Next.js project by running the following command:
npx create-next-app@latest secure-frontendNavigate to the project directory:
cd secure-frontendStep 2: Set Up a Golang Backend
Next, let's set up a simple Golang backend. Create a new directory for your Golang project:
mkdir secure-backend
cd secure-backend
Initialize a new Go module:
go mod init secure-backendCreate a main.go file with the following content:
package main

import (
    "encoding/json"
    "log"
    "net/http"
    "github.com/gorilla/mux"
)

func main() {
    r := mux.NewRouter()

    r.HandleFunc("/api/data", func(w http.ResponseWriter, r *http.Request) {
        w.Header().Set("Content-Type", "application/json")
        json.NewEncoder(w).Encode(map[string]string{"message": "Secure API Response"})
    }).Methods("GET")

    log.Println("Server started on :8080")
    log.Fatal(http.ListenAndServe(":8080", r))
}
Run the Golang server:
go run main.goImplementing Security Best Practices
Now that we have our basic project structure, let's implement some security best practices.
Step 1: Use HTTPS
Always use HTTPS to encrypt data in transit. You can use tools like Let's Encrypt to obtain a free SSL certificate.
Step 2: Validate Input
Always validate and sanitize user input to prevent SQL injection and XSS attacks. In Golang, you can use libraries like 'validator' to validate input.
import "github.com/go-playground/validator/v10"

type DataRequest struct {
    Input string `json:"input" validate:"required,alphanum"`
}

func handleData(w http.ResponseWriter, r *http.Request) {
    var req DataRequest
    if err := json.NewDecoder(r.Body).Decode(&req); err != nil {
        http.Error(w, "Invalid input", http.StatusBadRequest)
        return
    }

    validate := validator.New()
    if err := validate.Struct(req); err != nil {
        http.Error(w, "Validation failed", http.StatusBadRequest)
        return
    }

    w.Header().Set("Content-Type", "application/json")
    json.NewEncoder(w).Encode(map[string]string{"message": "Valid input received"})
}
Step 3: Implement Authentication and Authorization
Use JWT (JSON Web Tokens) for authentication and authorization. Here's an example of how to implement JWT in Golang:
import (
    "github.com/dgrijalva/jwt-go"
    "time"
)

var jwtKey = []byte("your_secret_key")

func createToken() (string, error) {
    token := jwt.New(jwt.SigningMethodHS256)
    claims := token.Claims.(jwt.MapClaims)
    claims["authorized"] = true
    claims["user"] = "username"
    claims["exp"] = time.Now().Add(time.Hour * 1).Unix()

    tokenString, err := token.SignedString(jwtKey)
    if err != nil {
        return "", err
    }

    return tokenString, nil
}

func verifyToken(tokenString string) (jwt.MapClaims, error) {
    token, err := jwt.Parse(tokenString, func(token *jwt.Token) (interface{}, error) {
        return jwtKey, nil
    })

    if claims, ok := token.Claims.(jwt.MapClaims); ok && token.Valid {
        return claims, nil
    } else {
        return nil, err
    }
}
Step 4: Secure Your Next.js Frontend
In your Next.js frontend, ensure that you securely store tokens and use environment variables for sensitive information.
import { useEffect, useState } from 'react'

export default function Home() {
  const [data, setData] = useState(null)

  useEffect(() => {
    const fetchData = async () => {
      const res = await fetch('http://localhost:8080/api/data', {
        headers: {
          Authorization: `Bearer ${process.env.NEXT_PUBLIC_API_TOKEN}`
        }
      })
      const json = await res.json()
      setData(json)
    }

    fetchData()
  }, [])

  return (
    <div>
      <h1>Secure Backend API</h1>
      {data ? <pre>{JSON.stringify(data, null, 2)}</pre> : <p>Loading...</p>}
    </div>
  )
}
Conclusion
By following these steps, you can build secure backend APIs using Next.js and Golang. Remember, security is an ongoing process, and it's essential to stay updated with the latest best practices and vulnerabilities. With a secure backend, you can ensure that your application and user data are protected from potential threats.
Happy coding! 🚀
FJerusha